Tuesday, May 30, 2017

EXAM

Required Questions:
1.) Tools are a major focus in this class.  Though many things can be completed by hand tools are often necessary. In creating artwork what type of tools have you used?  In using these tools how did they help your work along? Explain their function and purpose. (Ex. Pottery Wheel, aviation snips, Clay rib)

My most used tools would honestly be the hot glue gun, and a sponge. The hot glue gun is for just as it seems; to hot glue stuff together. I ended up using this often in order to create texture, and glue things together, but still have the ability to make it malleable. The sponge is really used for anything! I used mine most for smoothing clay out. I really really hate a rough texture, and the sponge was really useful in smoothing it out without giving me the ability to mess it up and cut it like many smoothing tools do.

2.)How has your knowledge and understanding of tools changed since the beginning of the semester? Talk about your growth of understanding.
My general knowledge of the tools didn't change, but I definetely began to understand that they don't have to be used for exactly what you think. Hot glue stopped becoming just a means of getting something to stick to something else, but something I can move around to build a piece and form it instead of just layering paper.


What was your favorite material that you used this year? Why do you like working with it?
 PAPER MACHE! I really enjoyed working with it because frankly, it was fun (I mean it looked like pancake batter come on). Also though it was awesome to be able to really wrap the newspaper around the structure and be able to mold it. I enjoyed making my first hand but it was so hard to fit the maps in the crevices of the hand, but the newspaper was really able to lay the same way my structure did. I just felt that there was a lot less room for error, so I was able to enjoy it more instead of being so frustrated.


Which project was your most successful? Describe the theme and or topic and the process you went through to complete the project.
My best piece was definitely my unconventional material piece (that was the theme). I first rolled out a slab of clay and then traced my hand. After the hand was traced and cut I curved the fingers up and the palm a bit so it looked somewhat like a hand holding something. After that I just cut out strips of maps and glued them on; making sure to put strips of bright colors on the tips of each finger. I say this is my best purely because I put so much effort into it, and it turned out how I imagined.

What did you find most difficult about this class? This could be anything from gathering materials, to generating projects ideas, to applying a particular technique. What could be done to resolve this issue in the future?
Good god. Getting a flipping slab of clay makes me break out in hives. Really any aspect that counts as "prep" or "getting materials" is just the worst. I feel like this is definitely just a me thing, but I was never able to understand how to plan it well enough so I wasn't struggling later on in the project because of my poor prep. I guess what could have been resolved is to go over prep, as in how to roll a slab of clay big enough for a bowl.


paper Mache

  1. How was your piece successful? I think the general shape was really successful, it wasn't perfect or too realistic but I think it definetely got the point across which I was really proud of. 
  2. What difficulties did you have with it?  Was it the shape? Medium? Layers? I had the most difficulty with the layers around certain crevises, but once I figured out how to mold the paper more, it was a lot easier. I also struggled with the painting because certain colors were more opaque than others and that was driving me bonkers.
  3. Did you finish it? Why or why not? why yessiree I did finish! I finished because I was FEELING IT and got the hang of the process pretty fast. Plus if I had done it pretty fast, I wasn't gonna waste it, I was gonna paint that dang thing. 

Scrafitiosis


  1. ​Explain the process? The general process of this is to make a piece, and then once 'leather hard', cover it in this black goop. Once the black goop dries, go in with an object of your desired size and etch into the piece. Etching into the piece will scratch out the black goop so you can see the underlying color(either white clay or red). Then put it in the kiln, take it out, dip it in that rank smelling glaze, and put it back in the kiln. 
  2. What did you think of the sgraffito process? I thought it was pretty cool. I really really hate dry clay and the sound/feeling of it, so scratching at it and such kind of urked me, but the idea of it and outcome was really cool. I also thought it was really cool and interesting how you had to think of which shadows and shading would be the underneath or the black. 
  3. How was your pieces successful and how might you change it if you were to do it again? I thought my piece was pretty swell. I think the design was really cool and turned out kind of messy which is what I wanted. If I were to do  it again I would have wanted to make sure the original piece was made better (i.e smoother, more even, etc) and that I would have focused more on putting an even glaze on everything.


Tray set

  1. What is your tray set used for?  How does your design make it used for that? Our set was used for kind of like a dip vibe. The design worked perfectly because the biggest bowl is used for chips and then the rest of the smaller bowls are used for various dips; you can place the less cool dips in the small bowl and the tastier dips in the medium bowl.
  2. How did you come up with your idea?  We saw the cool curvy bowl and decided we wanted to do that, and I frickin love dips. 
  3. Explain your process and materials. (3 or more sentences) We first rolled our a slab of clay. Once we rolled it out, we'd cover the bowl in some sort of protectant and then placed the clay over it so we could make it form to the bowl. After about a day of drying we popped it out, and we'd smooth it all down and make it  a bit smoother. After that the pattern was added, put in the kiln, then glazed with just a clear coat because we liked the red clay, and put back in the kiln. Then wala! All done. 


Monday, March 20, 2017

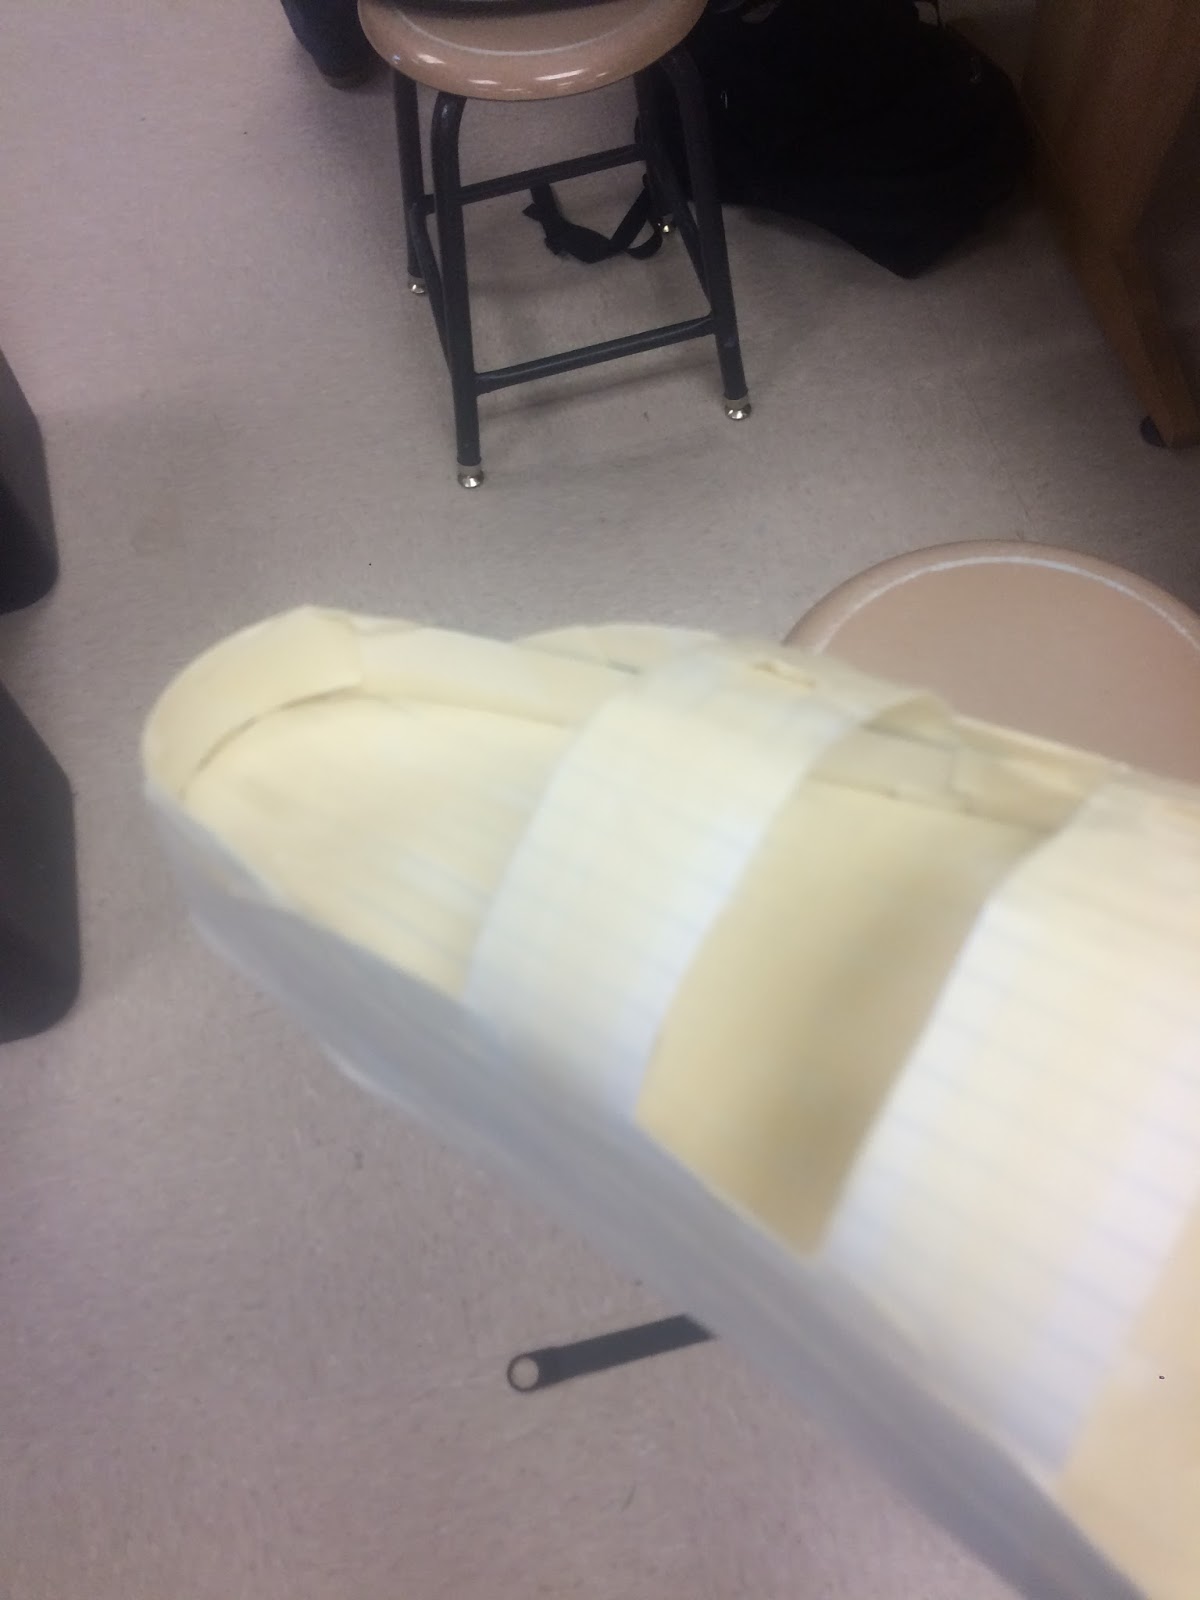
Tape Shoes


 ​​Explain the process start to finish. 
WELL first we have to sketch out the break up of the shoe  and figure out how the shoe                                                                 pieces together. Then you have to cut out the structure pieces from note cards and then                                                                 wrap it all in tape, and then tape it together with tape also. It depends on what shoe you're                                                             doing also, like shoe laces and buckles. 
What do you find successful about your piece?
 I think the bed of the shoe was really realistic. The part where birks curve up                                                                                   rather than just a flat base is kind of unique and I thought, not to brag, I kind of                                                                               killed it.

What would you change?  How was it unsuccessful?
 I would  probably change the buckles to make them a little more realistic and I think
 the most unsuccessful aspect was the whole tape factor. I used tape obviously, 
but I kind of missed out on the whole make it look                                                                                               completely out of tape; you can still see the lines of the note card which is                                                                                      a shame.


(I can't crop this picture on this website, and I deleted them off my phone to make room for the other pictures! I'm so sorry I should have tried this earlier today so I could have asked you!)

Unconventional materials

What material did you have?               
  Maps

What made it hard to work with?         
  It was really hard to bend and mold around                                                                               curves.

What did you make and and why?       
 I made a hand grasping up, covered in the map. I made it because I wanted to make a connection to human rights in some way, and I find a lot of symbols for that are hand related. I wanted to make a hand open though instead of a fist so it could be like "holding the hand in the palm of your hand" or like how it's the people's job to hold the world and take care of it. 

How is your piece successful? ​            
  I think the shape of the hand turned out well and the colors I used were really well.
 The block colors on the tips of the fingers I think                                                                  really made it look more artistic rather than crafty and I really liked that. 


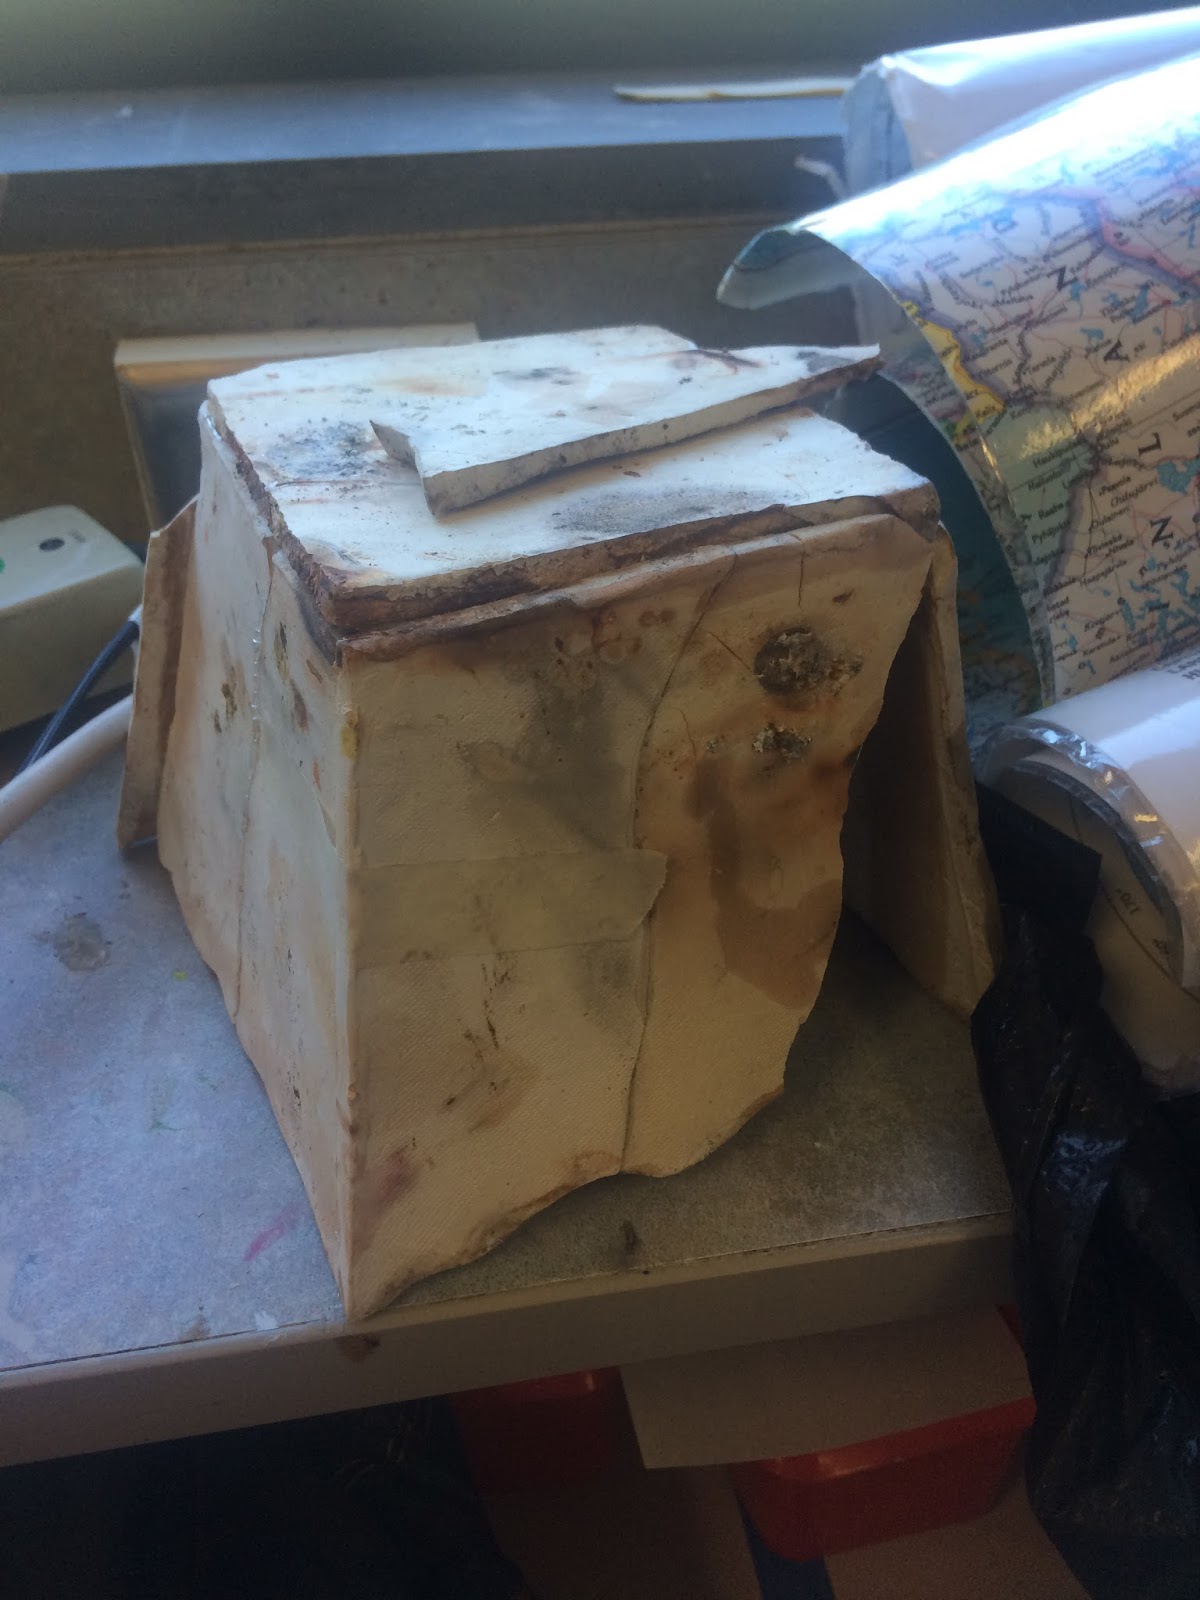
Pit Fire

  1. Explain the process of pit fired ceramics and saggars.  Should be at least 3 sentences or more (20pts)
First you have to make a sketch and choose what technique you'll use to make it. After that, and once you make it, you have to fire it in the kiln. Prior to the firing you have to make sure that you smooth it out best you can (using a spoon). After the firing, fix anything by sanding it, and then begin the actual pit fire. Wrap your piece in flammable items and drizzle chemicals all throughout it, then place the pieces in a pit and light it on fire. Hopefully the flame doesn't blow up and destroy your piece, but ya know, sometime fires are LIT.
  1. How do you feel your piece was successful and how might you change it if you were to make it again? (20pts)
No I feel like my piece failed terribly. However, I thought the structure of the piece was good, I'm proud how it turned out because it was pretty challenging for me. Though I worked hard on the actual piece, I think I could have improved on the integrity; the scratch and slip wasn't that good which is what probably added to the incredible break in the piece. 


Thursday, February 16, 2017

Learning Techniques


What technique do you think you'll use for your pit fire piece?

I'll probably use slab. Though I think coil would actually end up being easier since I feel like you can have more mistakes and still be able to fix it, slab will end up looking more like what I hope for than coil. (pinch is irrelevant) 

Who did what in the group?  How was the work divided?

Mark and I were a "group". I did the directions and writing, and Mark did the pictures. 


Thursday, February 9, 2017

Relief


1. I think what was most successful pertaining to the cardboard piece was the ability to add the layers and dimension, and pairing that with such little paint to still make something that isn't realistic but "detailed". I think the tile piece low key looks gross BUT what was most successful was the fact that since this has really been my first sculpture in years, I was able to add all the elements needed (texture, glaze, glass, relief) with little to no hiccups in the process; so though it looks bad, the actual process was not.

2. I probably would have changed the theme of the tile piece. I still like what I was going for but at my skill level and the size that we were working with, it wasn't realistic for myself to create what I was hoping for. A theme like space or something to do with rain is more my wheelhouse and has more interest to me. 

3. My subject for the cardboard was the ocean. I chose this because I figured it would be easy to include the layering and different textures since the actual ocean itself has so many different levels. Also one of my favourite art pieces is "The Great Wave off Kanagawa " so it was something I really like in art works and have seen often. For the tile piece I was going for the abstract vibe; the ocean, ground, and sun. I was hoping it would bring together multiple parts of nature and kind of the view of the sunrise near the ocean. I chose that because when someone says nature it's kind of the first thing I think of, so I went with it. 

Sunday, January 29, 2017

Inspired Artist Post (Feb 1)


   My chosen artist is Dustin Yellin ( http://dustinyellin.com/ ). He's currently 41 years of age and lives in Brooklyn, NY. So his artworks are generally a little tricky to describe, but basically he works in glass. He tends to build on the idea of layering, to create a 3D sculpture, but it'll emerge with often an incredibly amount of detail since each layer has some sort of image on it. He grew up in Colorado, but didn't feel that school was doing much good, so veered off the normal path. He studied for a year with a physics teacher; this surrounded him with the scientific approaches on matters and generally eccentric stuff (that's code word for hallucinogens).
   Alrighty, so to be completely honest I chose him because it was one of the first pictures that popped up that seemed cool. Now for me, for art to really be cool it has to fit my 'cool art checklist'. This means the following: would I not question why it's in an art museum? would I actually stop and look at it or would I slowly walk past nodding because I feel like people will think I'm ill-cultured if I don't pretend I'm interested? If this showed up on my pinterest board, would I re-pin it? Well his sculptures check these all off (I'm gonna look him up on pinterest after this assignment in fact). I think what really got me to stop scrolling was that I had to stop. His pieces are so incredibly detailed and are multiple art works in one; you have to really look at it to get the whole picture. Also, after I decided he's the guy for me, I found out he did a piece for the New York City Ballet, which is my wheel house. So to sum this up: I could justify why he's famous, I love things that can always show you something you hadn't seen before, and he did something ballet oriented so of course I love it.
NYCB Art Series Presents Dustin Yellin

Thursday, January 26, 2017

Texture


                         Cloud:

What was hardest about the cloud texture was making it look soft and fluffy. I normally would rely more on the coloring aspect of an art form to shape it (ha pun intended) into what I want, but making it resemble a cloud when it's grey and dense purely from texture was pretty tough.


                          Rock:


What was hardest about the rock texture what getting some parts of it really rough looking but also really smooth and curvy. It was hard to do with the clay and really separate the two looks without it turning into more of a blob feel.


                        Fur:


Obviously I struggled the most with the fur. I just had a generally tough time. I don't really have a good grasp on how to physically mimic fur and things like hair; fine (lol another pun like fine hair) and detailed things. Also what was weird about this one was the angle that we were trying to create; looking from a birds eye view was throwing me off even more than it would have if I were to just recreate the look of fur.

Wednesday, June 4, 2014

Art Journal

Did you try something that you weren’t sure about as part of this project?
 Yes. I'm not use to the layering of the materials that I used. Using oil pastels over the paper that was glued down was really weird. Also, not only using the one, also having marker blended in is really odd because I normally don't mix things like that.

Did you pick a material or technique that was new or different over something that was familiar?
   Yes. I decided to layer with multiple things like I said before. I wanted to just stick with one and figured I could just add a ton of detail so it seemed busy and creative and all that jazz. Instead I used many things and tested it out.

What is this artwork intended to say?
(lets get deep here)   It's suppose to be for the word grow. It's meant so kind of show nature and how it's always growing and how humans strive for such a thing. From the beginning we want to grow, grow taller, grow mature, grow older, always growing. While nature constantly grows at its own pace, we become adults in only 18 years legally, and even when we're old and society see's those as frail and done with growing, nature still grows on taller and bigger, far more than any human could ever be. I hope it subconsciously would bring the thought of us wanting that,  that's a piece of why we love nature, it's a constant growing thing that's always there throughout our short life of 'growing'.

What issues are you examining through your artwork?
   *sigh* Basically exactly what I said before. That we rush growing up from such an early age, and we should take a lesson from nature. The lesson to just grow as it comes and not to force something that the world doesn't force.

How is this artwork about who you are or what you like?
    I like nature and a lot of different colors which I showed in this piece.

Nature Art

How did you use your own unique ideas in your work?
   We did multiple different colors and there was no pattern to it. Not all the color blocks were the same size or next to the same color as it was before. I tried to make it as colorful and bright as possible, putting warm colors next to cool colors and darks next to brights.

Did you use a source for inspiration, then combine it with your own ideas to make it original?
   Yes. The source was the stereotypical yarn bombing. Yarn bombing is often seen when the yarn is crocheted and then wrapped around the tree. We used this as an idea for the subject and what we should actually do. Instead of crochet, we just wrapped yarn tightly with as little gaps as possible. 

  How did you respond to challenges that occurred as you worked? 
     We just worked around them. For example when there were tiny branches/leafs we would just wrap around the branch. Also another example is the gaps, we would look and see that we left gaps so we would just re-wrap a few times until it got covered. 

Did your work take an unexpected turn due to a mistake or did something happen that was unplanned?
  No. Though we had some obstacles, we tried to stay as close as we planned as possible. If there were gaps we would re-wrap or weave it through the gaps. If there were branches we merely went around them. We tried to make it look like exactly how we hoped. 


Sunday, June 1, 2014

Sculpture

Did you try something that you weren’t sure about as part of this project?
Yes. I tried the book carving, but I attempted multiple layers; the layers of the tree knot. I wasn't really sure how to make it pop out but still look like it was in the hole itself.

Did you pick a material or technique that was new or different over something that was familiar?
 Yes, I picked a new material and technique. I"ve never done carving or anything with a book. I had a lot of fun though and liked the idea of it. I really like the look of it and how it looks normal from the outside but when it opens it's like the story isn't just written on pages, it's 3D. 

What is this artwork intended to say?
 It's not really intended to say anything, but represent a story. I used the book 'To Kill A Mocking Bird', and used the tree that the kids and Boo traded stuff with. I really like the side story of Boo in that book, and the mystery and innocents of the whole situation. The tree was a turning point in the kids perspective of Boo, and that's one of my favorite parts. 

What issues are you examining through your artwork?
 As I said above, the tree represents the situation between Boo and the kids. He's seen as a mysterious maniac, but this tree gives an insight to Boo's life to the kids. I added gifts that Boo had left in the tree knot for the kids, because the gifts are what changed the kids thought about him. It also showed how shy and odd Boo was. 

How is this artwork about who you are or what you like?
  This artwork is about one of my favorite books. I've read this book in 5th,8th, and 9th grade. I think it;s a good book to read at different points in life because every time, something new shows itself and has a different meaning to you. 

Thursday, May 8, 2014

Perspective

How did you use your own unique ideas in your work?
   I used a picture I found online to base the picture off of. I chose all the places I want to travel to on the signs. I really enjoy traveling and I want to travel as much as I can when I'm older. The places written are some of my main locations I want to be in. 

Did you use a source for inspiration, then combine it with your own ideas to make it original?

    Yes, I found a picture online but then added in my own hopes and thoughts for details. 

How did you respond to challenges that occurred as you worked? 
  When the challenges occurred, I just hoped for the best really. I had a really hard time and figured the mistakes and challenges wouldn't happen again because I would try to learn from them.

Did your work take an unexpected turn due to a mistake or did something happen that was unplanned?

   Yes. I did not expect to have such a hard time on perspective. I struggled a bit during the practice but for the actual project I had picked a piece that seemed simple. It was really difficult for me and turned out to be frustrating.


Shibori Dyeing

Artist: Laura Hunter
    Laura Hunter now lives in Washington State, making silk scarves using the shibori technique.She specifically uses the  itajime shibori, a technique where designs are created by dyeing the fabric while it is folded and clamped between tiles, wood blocks, or other shaped objects. 
    She said "I am also fascinated by fractals in nature, repetition on different scales, often caused by growth and change." This explains why she is drawn to dyeing in the technique that she does. Using the shibori technique shows the specific pattern. The specific material you use to cover the shirt with will protect that area from dye, which will then leave the imprint of what you did.  
    Her use for this art is retail, she dye fabric then sews it into a scarf that she then sells.She has been doing this for 20 years as her job. She has experimented with the shibori technique, which has led her to the Itajime shibori style which was mentioned earlier.


 I chose this artist because her work seems cool, and we have things in common such Washington State. Her works color and design is really eye catching and cool overall. 

Sunday, April 20, 2014

Snap the Whip, Art History


The piece above is named 'Snap The Whip', by Winslow Homer. This piece what made in the 1872, in oils.

This what made in the realistic movement, which was a movement in which artists tried to create their pieces based on the human eyes perspective; the real truth. There was no paintings of Gods, or mythical creatures, and the times of royalty were grown out of and art was focused more on the common man. As the art above shows, a realistic painting of common boys playing a game in front of what would be assumed their house. Many realistic and fine details allow you so infer that this was during the realistic movement.

In our group...
Sarah-

  • found spot to film
  • helped with poster
  • started camera
  • was in the shot
  • helped with information  
  • helped with position to shoot

 Travis-

  • was in the shot
  • helped with information
  • helped with position to shoot
Me-
  • found painting
  • helped with information
  • was in the shot
  • helped with position to shoot
  • helped with poster

If I would do this project again I would pick a painting that was more emotional and detailed so it would be more of a challenge to represent the same feeling from the original painting. I would chose that because although picking a painting that was so realistic and following it was difficult, the feeling that comes across from paintings would be a cool challenge to try to re-invent.